
The Witches Wardrobe
- Jun 15, 2017
- 3 min read

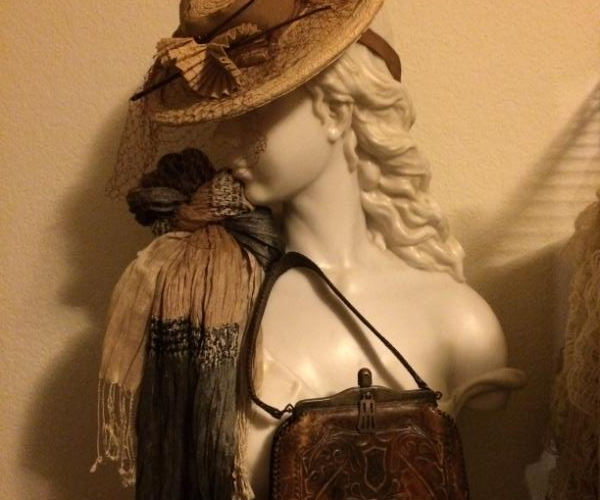
Today's blog is really about having fun with scarves and shawls, not so much the wardrobe room itself. I LOVE scarves and shawls, not just to wear, but to decorate with. In the photos below, you will see a 3-way divider. I picked (bought) this divider at a garage sale a few years back knowing that I was going to use it in the future for a vintage looking divider. I already knew the color palette that I would be using for this project. then I just started collecting. I looked everywhere! I used garage sales, thrift stores and even E-bay for finding what I needed. I am VERY into textures. Textures bring all things to life (something to always keep in the back of your mind, when doing anything). One more thing I would like to add is never settle for. Its true what they say, 'All good things come to those who wait.' So be patient in your gathering of materials. It took a while to find just the right colors to create this divider.
Once you have found all your scarves, it's time to get started. You can use anything might have here at your home. An old stained table cloth, an old bed sheet; anything large enough to span each panel section of your divider. If you don't have anything on hand you can pick up some fabric on clearance at the fabric store or buy some cheap muslin.
Next, tare into wide enough strips for each panel. Then attach each panel in place on your divider. You can glue it, Velcro or stitch it onto your divider. Attach at the top and bottom only. (make sure the panels are very taunt). Now comes the fun part! Take your scarves and start playing, by laying them out on the floor to see what you want each panel to look like. Don't be afraid to cut your scarves. Having different lengths and mixing up all the scarves is what makes this divider look vintage! Once you have got the look you are going for, you are ready to start hand stitching them into place. You have to remember, when sewing them on that your stitching has to be hidden. So I recommend that you start at the bottom and work your way up to the top.
When you have reached the top of your panel, make sure that your top piece will drape up and over the top of the divider with the pretty edge of the scarf. When you are finished completing the other side of your divider, you will be able to drape it over to cover up the top stitching on the divider. This will give you a nice, clean, finished look. Then if you like you can drape extra scarves across the top and/or hang some on the sides as I have shown below. There are many ways you could make this type divider, but I chose to make this without having to use a sewing machine.


The lampshade (shown here) was made using the scraps that were left over from making this divider. I just covered over a polka-dotted lampshade, I had, and added some old glass beaded trim for around the bottom of the shade. Voila! A whole new lamp for the Witches Wardrobe.


Comments